You’ve identified a need in your control system panel. Perhaps an upgrade is due, or a legacy I/O module has finally reached its service limit. The BOM calls for a WOODWARD 5463-316 Digital I/O Module. What’s the next step? Moving from a part number to a fully operational component requires a practical approach. This guide walks through the real-world process of sourcing, verifying, and integrating the 5463-316, drawing from common field engineering practices.
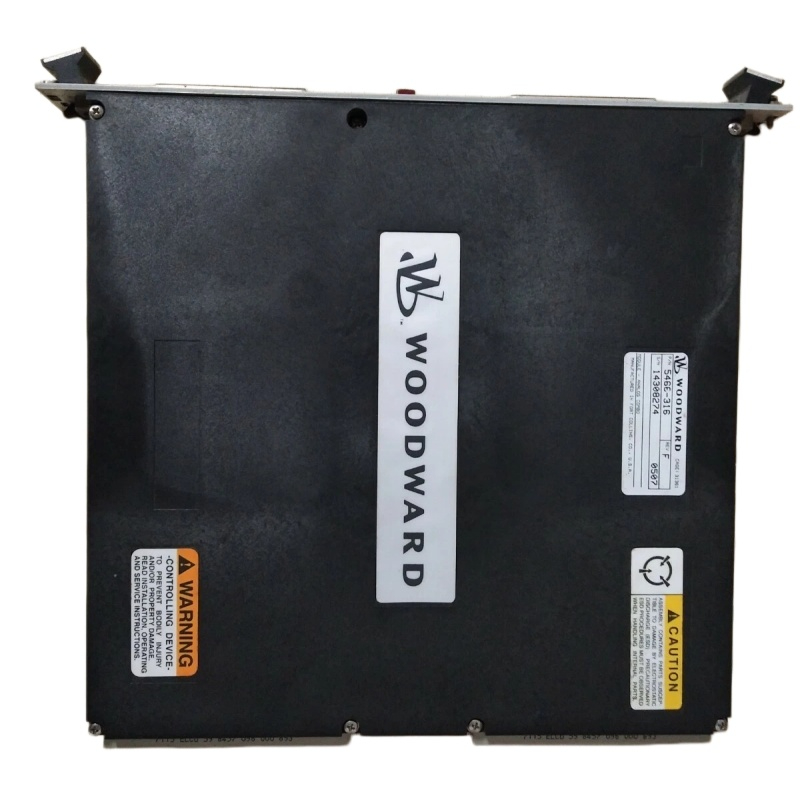
First, clarity is key. The identifier “5463-316” is the base part number, but variations exist. It is crucial to verify the exact Firmware Revision and Hardware Version your system requires. A module with an older firmware may not be recognized by a newer control processor, or vice versa. This information is usually found on a label attached to the module itself or specified in your system’s original design documentation. Don’t guess—cross-reference with your existing hardware or the system’s configuration file.
With the exact specification in hand, sourcing becomes the focus. The most straightforward path is through an authorized WOODWARD distributor or directly from Woodward. This guarantees authenticity, access to the latest version, and full technical support. Be wary of deals that seem too good to be true on open marketplaces. Counterfeit or salvaged industrial electronics are a real risk; they may fail unpredictably or, worse, cause cascading system failures that lead to costly downtime. The peace of mind that comes with a genuine part, complete with warranty, is worth the investment for critical control applications.
Once the module arrives, a pre-installation check is a simple but wise habit. Before powering down your system, inspect the new 5463-316. Check for any physical damage to the connector pins or the PCB. Compare the labels on the new module with your old one or your specification sheet. This five-minute visual inspection can save hours of frustrating diagnostics later.
Installation requires a methodical approach. Always follow lock-out/tag-out (LOTO) procedures to safely de-energize the control rack. Slide the module firmly into its designated slot in the I/O rack until it clicks and the securing latches or screws can be engaged. The electrical wiring to the field devices is the most critical part. Double-check each wire against the system’s I/O drawing. Ensure that the wire gauge is appropriate for the current, that connections are tight, and that the voltage rating of the channel matches the connected device. Incorrect wiring is a leading cause of I/O module failures.
After physical installation and before closing up the panel, it’s time for a basic functional test. Apply power to the control system. Observe the module’s status indicators. There should be a healthy “Power” or “OK” LED illuminated. Using the system’s configuration software (like Woodward Toolbox), go online with the controller. Verify that the system recognizes the new module in the correct slot. You can then perform a point-by-point check: manually actuate a field switch and watch for the corresponding input bit to change state in the software. Command an output from the software and confirm the field device (like an indicator lamp) activates. Document these tests.
Finally, consider the long-term. Ensure you have a backup of the system’s configuration. If you’re replacing a failed module, investigate the root cause. Was it a wiring issue, a voltage spike, or simply age? Addressing the cause prevents a repeat failure. Keep the module’s manual and datasheet, either digitally or physically, in your maintenance log for quick future reference.
Navigating the process for the WOODWARD 5463-316 doesn’t have to be daunting. By prioritizing verification, sourcing authentically, installing meticulously, and testing thoroughly, you integrate more than just a component—you integrate reliability into the very backbone of your control system.